Making homemade chicken bone broth just got easier! “So versatile,” “a must have pantry staple,” “liquid gold!” – just a few things those in the know say about this recipe.
If you haven’t yet been convinced of the straight up magic bone broth wields in the human gut, you can’t deny the explosion of rich flavor it adds in a dish. Better yet, forget food – this bone broth is a delight of a beverage in and of itself.
Quick aside, but did you know there is a difference between stock and broth? I’ve always questioned the difference, but figured there must be something to it otherwise why would there be two names. Says the all-knowing internets…
- broth is made primarily with meat
- stock is made primarily with bones
- some claim bone broth is just stock that has cooked longer despite its use of broth in the name
Huh, color me confused, but most agree the lines have been blurred for some time now and it’s probably okay to exchange one for the other when cooking… much to the chagrin of the pseudo “pro chef” in your life, of course.
Good, because that is exactly how I treat this homemade chicken bone broth recipe – broth, stock, bone broth… when it’s this good, who gives a [expletive]!
Wishing you could now transport back in time to your blissfully ignorant self? Me too, friend… me too (::shrug::).
Let’s get on with the goodness!
⚡NAVIGATION⚡
HOW TO MAKE LIQUID GOLD
STEP 1: Gather all of your ingredients.
- ~2 lbs. Chicken Bones
- 3 Medium Carrots
- 3 Stalks Celery
- Water

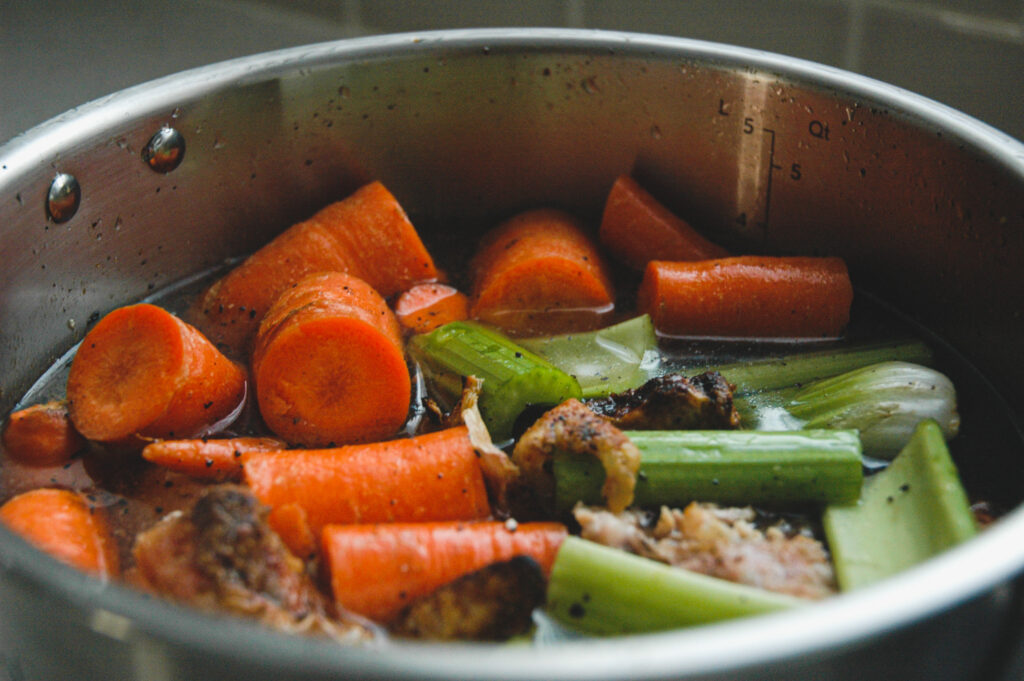
STEP 2: Densely pack the ingredients into the pressure cooker, filling it with just enough water to cover the bones, carrots, and celery.

STEP 3: Punch in the following settings into your pressure cooker.
- Pressure Cook
- High
- 2 hours
- “Keep Warm” off
- Start

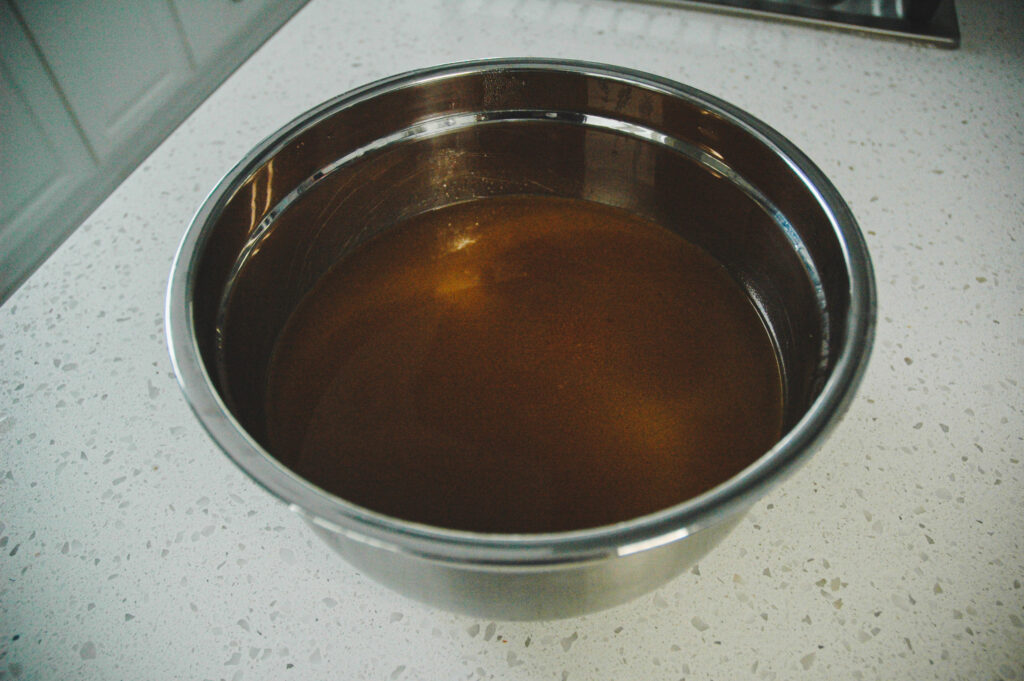
STEP 4: Once your pressure cooker has safely depressurized, separate the bones, carrots, and celery from your newly minted chicken bone broth. I like to use tongs or a spider strainer for the big chunks and a finer strainer, better yet, a cheesecloth to capture all of the small bits.

Then transition it into glass jars. Now, don’t be a dumdum like me – just take the extra 10 seconds to grab your funnel and avoid wasting any of this hard earned liquid gold (the chicken bone broth)!

STEP 5: Time to give the chicken bone broth the Wim Hof treatment (ice bath!). Find anything that can hold water, fill it with plenty of ice/water, and add your jars. They should be sufficiently cooled in about 1 hour.

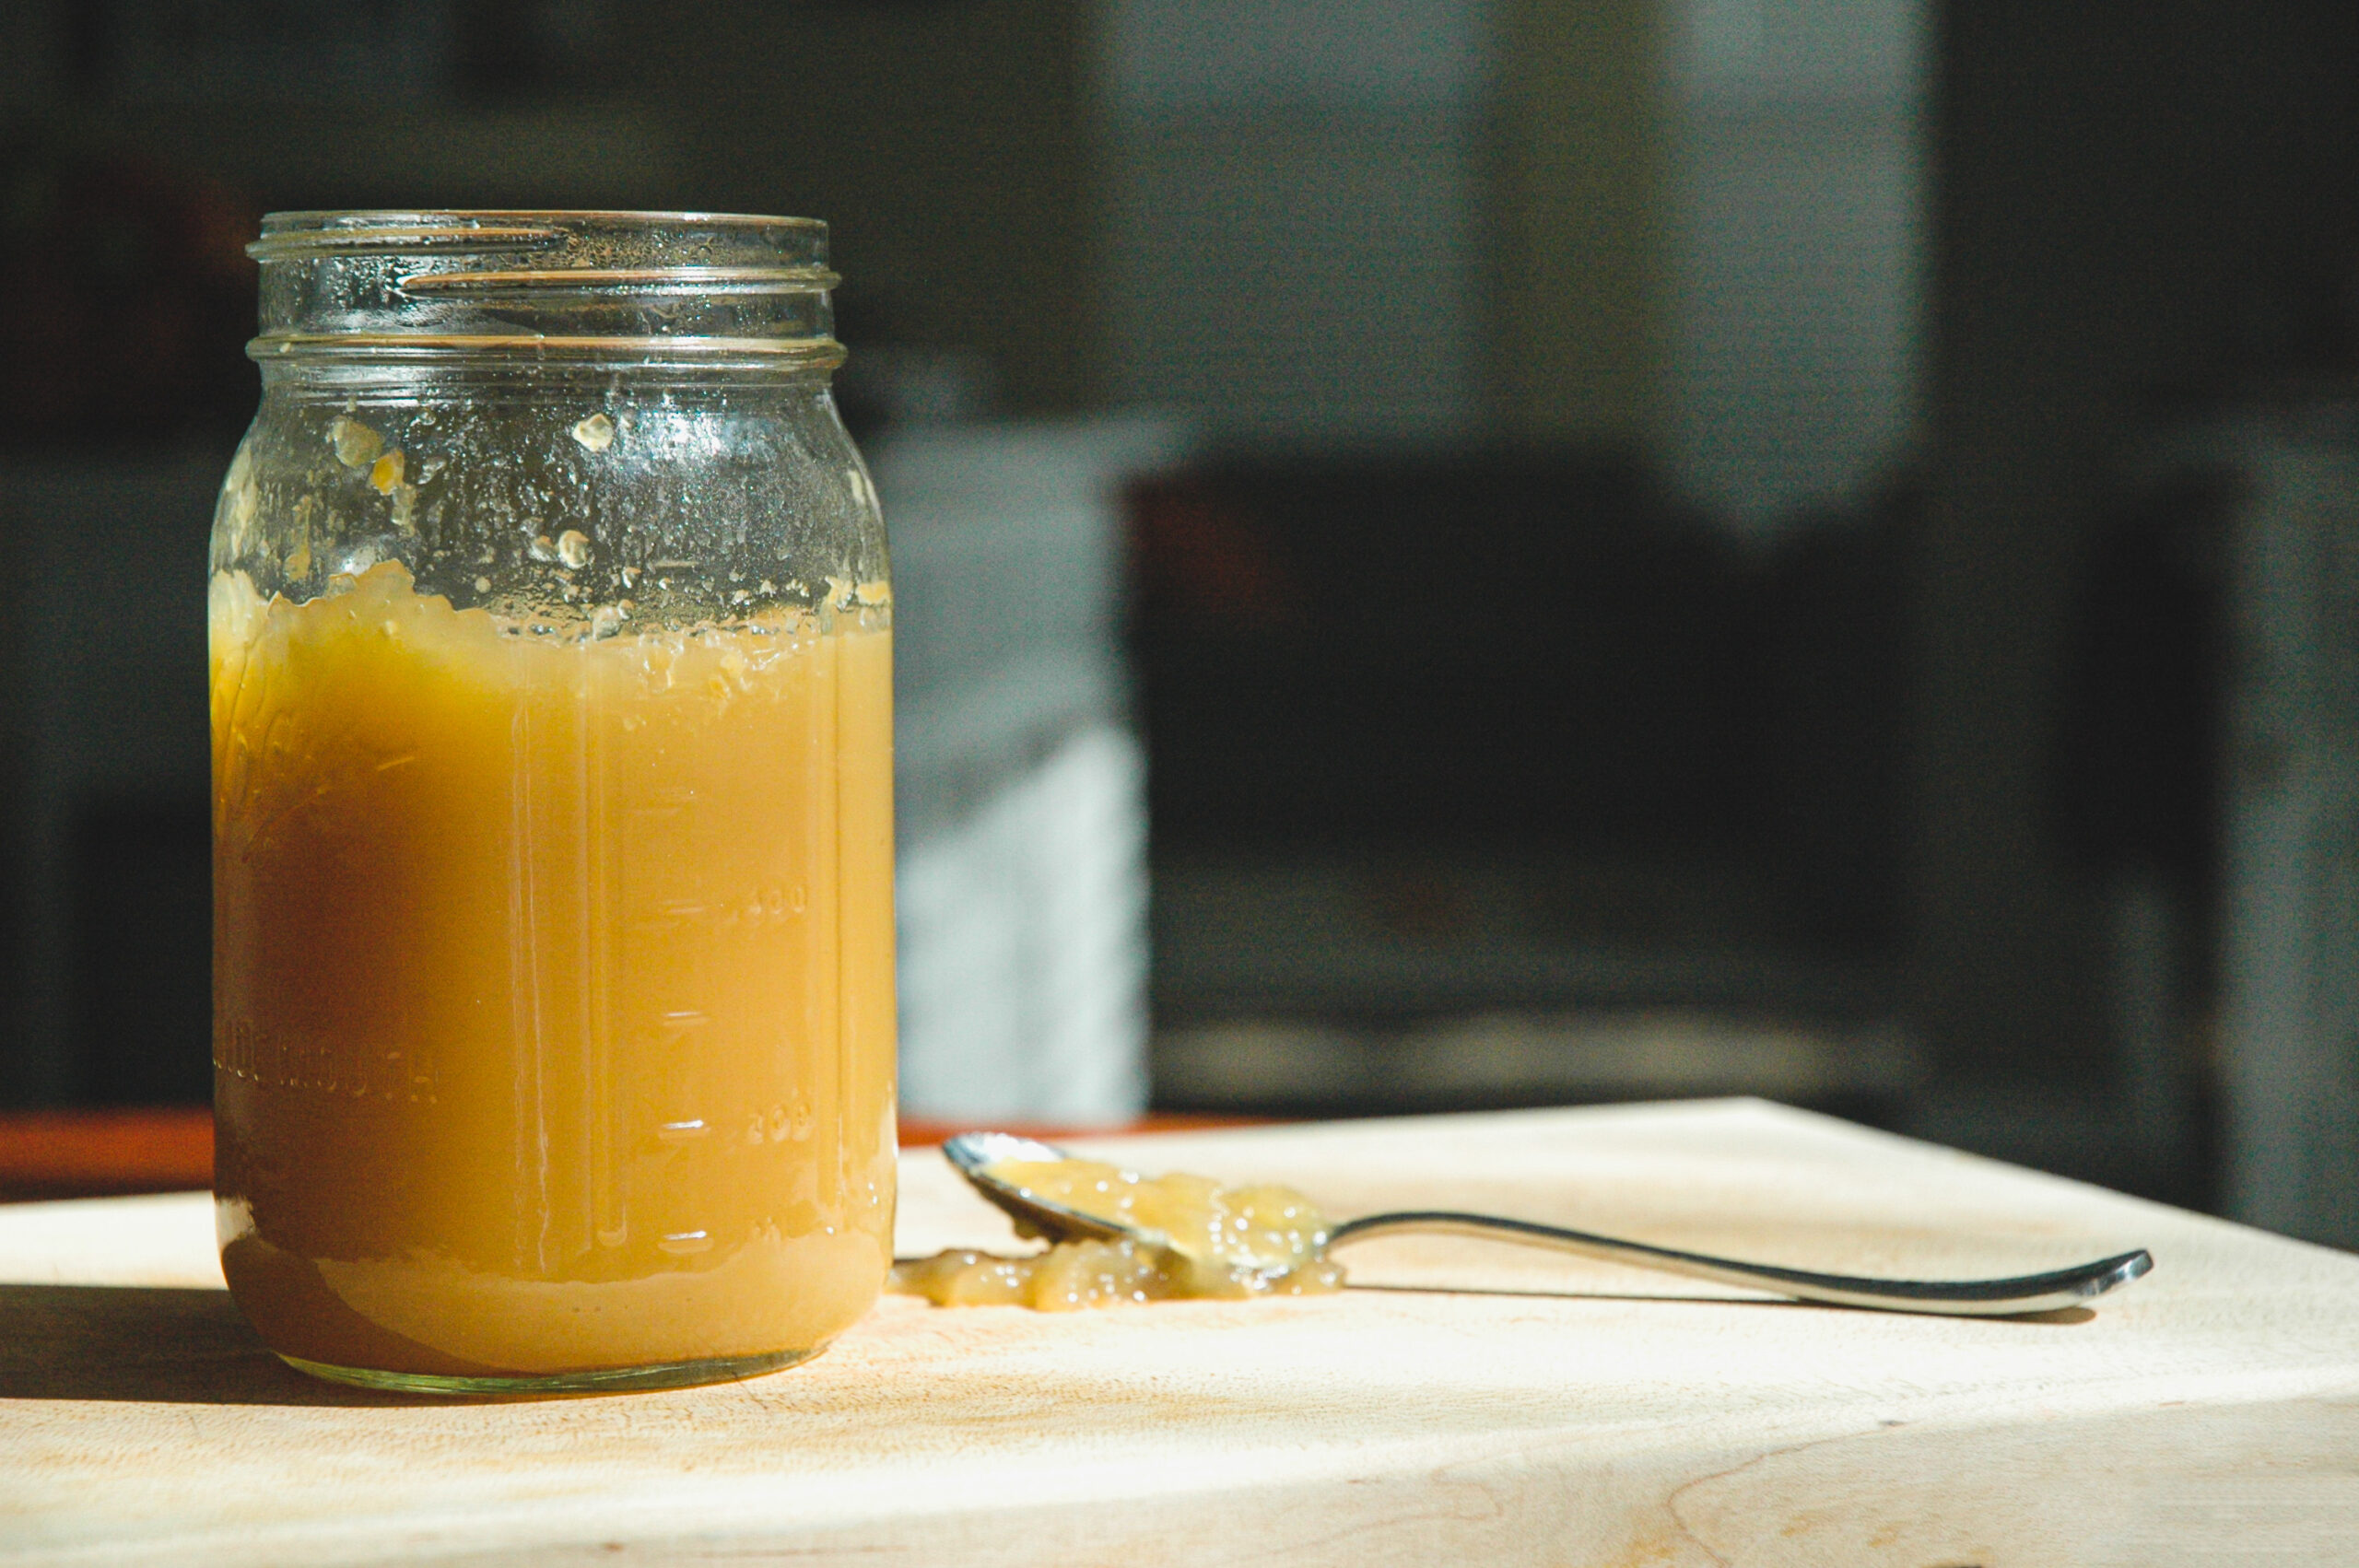
STEP 6: Move your jars to the refrigerator so the chicken bone broth can gelatinize within the next 24 hours. Truth be told, you should start to notice the jiggle after just a few hours, but I like to ensure a complete co-mingle of flavors and at least let the jars rest overnight.
STEP 7: ENJOY! Use the chicken bone broth in your next dish or whip up a delightful beverage. Keep it in the refrigerator for up to 1 week or in the freezer for 4 months.
📺 WATCH ME MAKE THIS CHICKEN BONE BROTH
🍳 RECIPE

Homemade Chicken Bone Broth
Equipment
- Pressure cooker / Instant Pot
- Ladle or spider skimmer
- Fine strainer
- Mixing bowl (large)
- 2-4 Glass Jars (mason, old spaghetti, etc.)
Ingredients
- 2 lb. Chicken Bones
- 3 medium Carrots
- 3 stalks Celery
- 5-8 cups Water
Instructions
Cooking
- Place all chicken bones in the pressure cooker. Bones can be thawed or frozen – it doesn't matter! Evenly distribute the bones as much as possible.2 lb. Chicken Bones
- Roughly chop carrots and celery. Add them to the pressure cooker.3 medium Carrots, 3 stalks Celery
- Fill your pressure cooker with just enough water to cover the bones, carrots, and celery.5-8 cups Water
- Close the lid and set your pressure cooker to the following:– Pressure Cook– High– 2 hours– "Keep Warm" OFF– Start
Rest
- Once complete, allow your pressure cooker to safely depressurize. You can let it do so naturally (~15 min.) or use the manual valve.
- Use a ladle or spider skimmer to remove all bones, carrots, and celery from the bone broth.
- Set up your fine strainer over a large bowl (even better if you have a cheesecloth handy!) and pour your bone broth in. This will help remove all of the straggling bits that fell off the bones during pressure cooking.
- Evenly pour the bone broth into your glass jars and give them an ice bath for up to 1 hour. Ice bath, meaning you're setting the jars in a few inches of water and ice to help them cool. Feel free to do this in a large bowl, sink, or other vessel that can hold water.
- Once cool, seal your jars with a lid and place them in your refrigerator overnight.
- Your bone broth is ready when it's reached a gelatinous state! Enjoy immediately, leave it in the refrigerator for up to 1 week, or keep in the freezer for up 4 months for use later.
Notes
- SAVE BONES
- Friends don’t let friends throw away chicken bones! Collect all gnawed on bones, put them in a ziplock bag, and freeze for use later once you’ve collected enough.
- DON’T ADD SALT OR SEASONING
- I purposely don’t add salt to this recipe in the event I use it in another dish. I’d hate to over-salt/season.
- SKIM THE FAT, OR NOT
- Personal preference here. It’s okay to skim the congealed fat off the top of the jar, but also absolutely okay to leave it as well. I leave it for added flavor.
- DRINK AS A BEVERAGE
- Using homemade chicken bone broth in a dish is fine and all, but my favorite use is as a beverage on a cold day or when I’m feeling under the weather — add a pinch or two of salt, warm it up in the microwave and OMG; so stinkin’ good!
- TROUBLESHOOTING
- Finding your bone broth is not gelatinous?
- May be your bone to water ratio (too few bones). Make sure you pack your bones into the pot as densely as possible.
- Could be that you only used wings/drumsticks. Try use bones from the whole chicken.
- Short on bones?
- It’s totally okay to add rib and/or beef bones too!
- Reduce your volume of water. Pack the bones in the pot and add just enough water to cover them.
- Finding your bone broth is not gelatinous?
Want to learn more about Functional Home Cooking?
